The sunbird and the heliconia

Female sunbird checking out the heloconia flower.

The Olive-backed Sunbird is a daily visitor to our garden. Sunbirds tend to travel in pairs – the male with a blue-black bib from the eyes to down the chest, and the female with a full yellow underbelly, and both earning the name of being olive-backed.

These small birds are commonly mistaken for hummingbirds because of the way they hover gracefully as they sip nectar from flowers with their thin, curved beaks. Unlike hummingbirds (which are from the tropical Americas), sunbirds can’t hover for long, and you will more often see them hopping around plants that have nectar-bearing flowers and hanging on with dexterous skill as they feed.

I had a great opportunity to watch a female sunbird when it paid a visit to one of our heliconia plants that happens to be just outside a window…

The female sunbird hangs effortlessly to the heliconia flower as it looks for nectar.

Unfortunately, they feed fast and I could only get a couple of pictures once I grabbed the camera – but you can see just how cute this little bird is! And it’s so light that it barely bent the stem of the flower.

I don’t often get the chance to take good photos of these birds as they’re quick and dart around really fast, so I’m glad I managed to, this time.

© 2011 curiousgardener.com All rights reserved.


Share

The Ma Had Thai caladium

What's not to love about this beautiful plant?

I am in love with my Ma Had Thai caladium plant!

As mentioned in a previous post, I bought it before Christmas last year because its colours really put me in the yuletide mood…

The leaves are a deep, almost maroon, red, with lighter pink speckles scattered across the surface of the leaf. In contrast, the main leaf veins and stalks are a dusky black – creating an overall picture that appeals tremendously to my artistic side (such as it is).

What’s more, the plant recently sent up a flower spike that – not surprisingly – sent me into more artistic raptures…

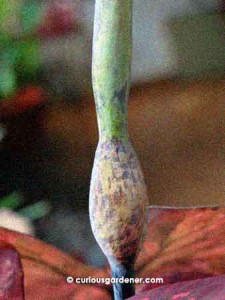
Once again, the stem was dusky black, but the whole flower bud – especially the rounded base – was so beautifully decorated with dark speckles on lighter yellow and green that I was lost in the creativity of the designs.

The artistic flower bud as it grew.

Yes, I am in love… :P

Just look at the view from the underside of the leaf - isn't it like a stained glass window? *swoon*

I blame my parents for my weakness where caladiums are concerned. Various forms of these colourfully-decorated heart-shaped leafed plants have come and gone in our home over the years, and will continue to do so, since I’ve inherited my parents’ genes. Besides that, caladiums do very well in our tropical climate are are very nice perennials to have around. Wouldn’t you agree?

Finally, the anthurium-like Ma Had Thai flower in what I consider full bloom.

© 2011 curiousgardener.com All rights reserved.


Share

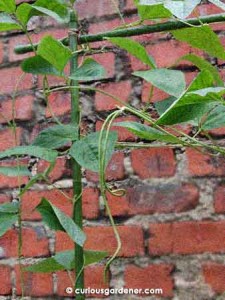
Growing thin long beans

The long bean plans love the new trellis!

Everyone who knows me knows how thrilled I am to get seeds of new plants. My problem is, I don’t always plant them immediately. So, the long bean seeds that I got way back at the beginning of the year were only planted in July – and because I delayed in making their trellis, were only transplanted when they were 2 weeks old. This isn’t good as bean plants are vigorous growers, so they were slightly stunted by the time they went into their permanent home at the trellis.

It wasn’t until the end of September that flowers made their appearance. As usual, the first few aborted – likely because of the hot, dry weather we had then – but after a couple of weeks, they finally set fruit.
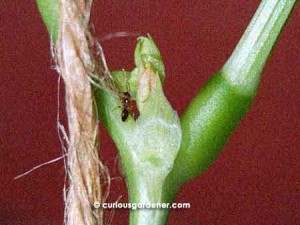
This growth in the stem joints always thrills me because I know the flower buds are on the way! The added confirmation is the presence of ants hanging around.

These long beans are the thinner variety – although if you leave them on the vine long enough, they’ll fatten up like normal long beans! They live up to their name and have been growing to more half a metre long. In fact, the longest one was 63cm!

I have just 4 plants growing at the trellis, and since the beans appear so sporadically now, we end up harvesting one today, another tomorrow and maybe another couple the next day, and in order to have them at a single meal, have to keep the first ones in the fridge until we’ve accumulated enough to cook a single dish. Maybe we won’t have to wait as long once all the vines are producing more prolifically. However, it’s time to consider sowing seeds for the next growth cycle.

Here you see the first bean in this bunch of buds forming.

I have to mention that I like the trellis that the vines are currently growing on. It’s a 2-metre tall tic-tac-toe grid made from 6 poles, twine and cable ties. That’s 3 horizontal poles attached to 3 vertical poles embedded in the soil. The cable ties and twine join the poles together, and as the vines grew, I added more horizontal and vertical surfaces with twine. I like to be adaptable and do things to suit my plants.

While I initially thought I’d make this a “table”-type of trellis, I decided to forgo the top because I was happy with the way the plants were growing. What happens is, when the vines reach the top, they fall over and keep growing on whichever side they’re on, latching onto the trellis for support. So far, it’s also been quite easy to spot and harvest the beans – a huge plus for me.

Alright, I’m happy I’ve reached one of my objectives to have long beans growing in the garden again. Now I can scoff again at the beans sold in the supermarkets and be happy that mine are sweeter than they are!

© 2011 curiousgardener.com All rights reserved.

$1.99 Domains* at GoDaddy.com

Share

Ladybug nymph watching – over!

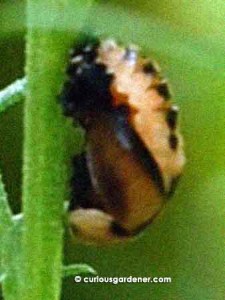
The most advanced stage I observed any of the ladybug cocoons reach.

It looks like my observation of the ladybug life cycle is over for now. The cocoons that I saw at my last ladybug post are now empty, making me wonder when exactly the ladybug nymphs started on this aspect of their life cycle.

No thanks to the rainy weather over the last few days, I couldn’t observe the cocoons as closely as I wanted to, and am left with unanswered questions. Could they have become ladybugs in just a couple of days? It’s mind-boggling to think about. Just imagine changing from the long-bodied nymph to a round-shelled beetle over a few days – it’s like magic!

Anyway, the pupae are gone, leaving just parts of the cocoons behind. Now that I know what those black bits are, I realize there were a few others on the plants when I first discovered the nymphs. So, either they all hatched at different times or they grew at vastly different rates.

And in case I didn’t mention it before, this particular brinjal plant shares a pot with Dahlberg Daisies, which I planted as an attractant to pollinators. I guess it worked! Anyway, the ladybug cocoons were on both the brinjal and Dahlberg Daisy plant stems.

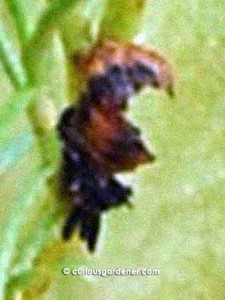
This was the most complete discarded cocoon I could find. The others consisted of only the black parts that attached the cocoon to the plant.

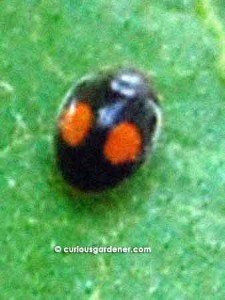
I did spot a tiny ladybug on the brinjal plant. It must have been all of 2 millimetres across, and had literally only a couple of spots, but in reverse – most of the body was black while the spots were red. It was a really cute bug!

The baby ladybug - try to visualize this at just 2mm across!

The question in my mind now is when the ladybug nymphs pupate, do they emerge as big or tiny ladybugs? So many questions, so much more to learn and observe…

© 2011 curiousgardener.com All rights reserved.


Share