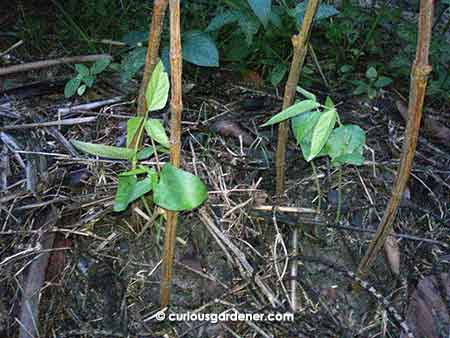
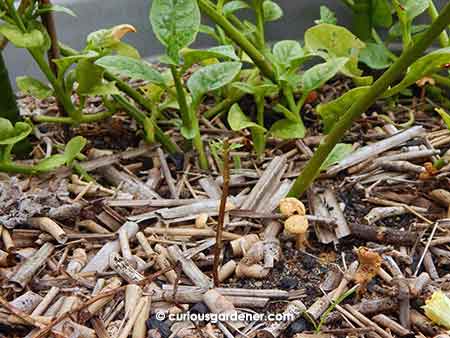
Malabar spinach plants in the background with the beheaded cosmos seedling in the foreground.
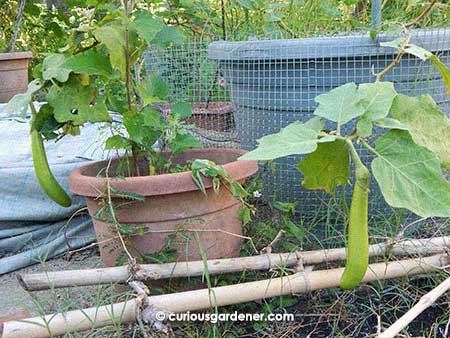
I have a large flower pot that was home to a lone angled luffa plant. When I needed to find a place to plant out a bunch of Malabar spinach that I had rooted in water, I decided to put them in the same pot.
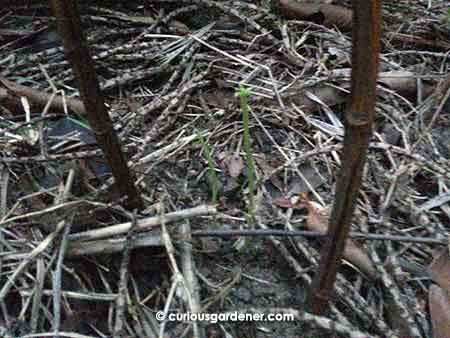
A few weeks later, I was busily dispersing cosmos flower seeds around the garden, and threw a few in the same flower pot, simply because there was space. Three germinated and two “mysteriously” disappeared. The last one looked like it would dominate the place when… you’ve guessed it! A snail decapitated the young plant. That naturally made me curse and swear, but the damage had been done, and the cosmos stem stood mute testimony to the appetite of snails. (It looks like it may keep growing, though, as the remnants of the last leaves have kept it alive enough to start growing new leaves!)
At this point, something occurred to me. There was a potful of nice, thick juicy stemmed Malabar spinach right there … so why didn’t the snails feast on them too? Do they not like the succulent spinach? Or is there something about the plants that they dislike? Methinks me is going to experiment with using Malabar spinach as a border around plants and beds just to see if there’s anything to this! ![]()
© 2016 curiousgardener.com All rights reserved.